How to move your yoga teaching online with video conferencing or live streaming
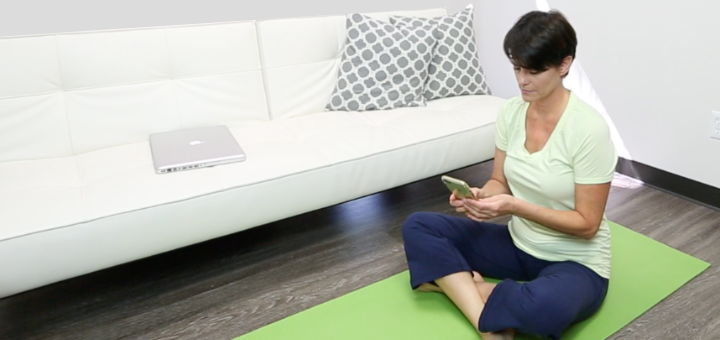
As much as we want this uncertainty brought on by COVID-19 to end quickly, we might be in for a long haul. What will you do to continue your yoga teaching during this time? Let’s discuss some simple steps you can take to move your yoga teaching online.
The most obvious thing to do is to reach out to current students, friends, neighbors, and literally everybody you know and ask if they want to do digital yoga. You can offer them private yoga sessions, shared yoga sessions (2 students), or small web classes. You can even offer yoga for the whole family if you are open to it. As we spend more and more time at home with the same people, one expects that folks will be looking for an opportunity to take time for themselves and/or for ways to occupy themselves and their kids.
Here is a simple step-by-step plan you can follow to set this up quickly.
Step 1. Decide on what you want to offer (private yoga sessions, shared yoga sessions, or small web classes) and how much you will charge for it.
Step 2. Email or call your current students and offer it to them. Have specific dates/times in mind. You can offer promotional pricing for a specific time period or a free introductory class.
Step 3: Choose a provider for your video conferencing services. For private sessions, you can use Skype or Whereby; for group classes, you can use Zoom or Whereby. A free Zoom account is limited to 40 minutes per session, but you can have an unlimited number of participants. There is a new link to participate in a class every time, which you would need to email to your participants after they pay. A free Whereby account does not limit session time, but you can have a maximum of 4 students, and the email link to join is always the same. You can sign up for both services and test them out to see which one works best for your needs.
Step 4. Use PayPal to invoice your students before your class. It’s a very simple process. You will get an email once your invoice is sent, and another one once they pay it. Alternatively, you can create a Buy Now button on PayPal for your class and add it to the email that goes out to your students.
Step 5. Email your students a link to join your class after they pay. Let them know if they need to download any applications ahead of time (they might have to do so with Zoom). You can also give them specific instructions about their computer setup or mat positioning. Reassure your students that if the internet connection turns out to be poor, they will get credit toward the next class.
Step 6. At the scheduled time, have your session or class online. It might be useful to do a test run with a friend or a member of your family to see what needs to be tweaked. Try to approach this experience with curiosity, and don’t stress if things don’t work out perfectly right away. You might have to adjust your expectations about what online yoga looks like.
Step 7. Afterward, email your students to check-in. What did they think? Would they like to continue? Are there things that need to be adjusted? Did it work for them? Make changes if necessary, and keep on going!
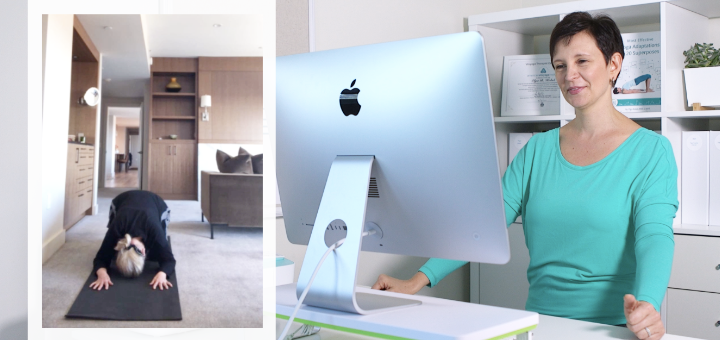
This type of arrangement implies an exchange between the teacher and the student – the teacher responds to what she sees on the screen and adjusts her instructions accordingly.
If this arrangement turns out to be too cumbersome or stressful for you, you can set up your teaching as a one-way street, with students seeing you on the screen and following your instructions without you seeing and/or responding to them. This is called live streaming.
Live streaming simply means that you offer a yoga class online at a specific time, and students choose to join your live stream. Students can see you, but you cannot see your students or react to them. Your students might be able to type their comments, but they shouldn’t be doing that while in a yoga pose 🙂 Many companies offer live streaming services, but many of them (Facebook Live or Instagram Live, for example) would make your live stream available to anybody. With services like YouTube live streaming, you can set your live stream to “Private” and only share the link to your live stream with those who purchase access.
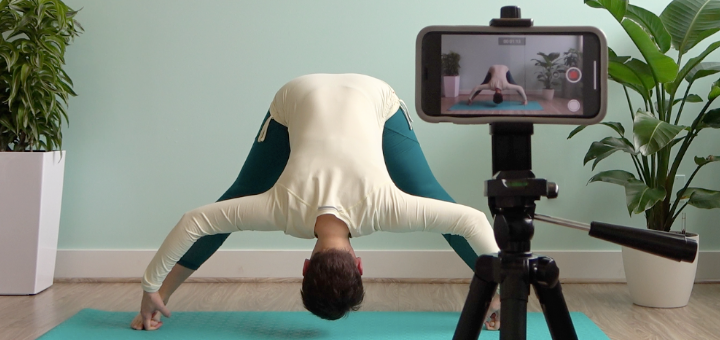
You can stream live from your computer or mobile device (although there are some limitations to that, depending on your service and setup). When you get ready to do it, make sure that your students can see and hear you well. This means good lighting, a peaceful background, and, most importantly, quality sound. Sound can get tricky if you move too far away from your camera or if you have other noises present in your environment (like lawnmowers outside, your animals inside, or other humans in your household). From my experience, people can put up with poor image quality much more willingly than crappy sound, and you don’t want your students to get irritated. Before you go live, be sure to do several test runs with your friends and family, and then follow the same steps for setting up your live streaming arrangement as we listed for the video conferencing option above.

Do you rely on word of mouth to spread the word about your services? Word of mouth does work over time, but only when your students, friends, and family who spread that word understand what it is that you do and how it is different from others. To be able to communicate our message of yoga effectively and authentically, we need to be clear to ourselves about who we are as teachers, what is our unique approach to yoga, and what we are ultimately working toward.




Dearest Olga,
You’re the very BEST.
Thank you so much for your valuable information.
Please take care, be safe.
I am grateful and appreciate each correspondence from you.
Sincerely,
Bea ??☀️
Thank you Bea! I hope you put this info to good use and please stay safe!
Thank you so much for this post! It is hard to figure this all out by myself.
You are very welcome Madeleine! I know it can be overwhelming. Just try one thing at a time and it will feel more manageable. Hope it all goes well for you and please let me know if any questions pop up.
Thank you for keeping it simple X
Thank you so much of this information Olga!
Thank you! Wise advise!
Thank you for posting this, its such a great help especially for those of us technically challenged or not in there 20’s lol. I do have one question in regards to liability insurance. One gal on a forum had spoken to Aliant and they stated clients need to sign a waiver as putting a disclaimer before the video wasn’t suffice for coverage! Any suggestions how to include this?
Thanks so much Olga, this is wonderful. I wondered if you have experience with microphones and any you’d recomend?
Hi Nes! I use Blue snowball microphone and I am very happy with it. It records great sound and plugs right into USB port of your computer. For wireless mic (that feeds into a video camera), I use Rodelink wireless mic, but I also heard good things about their newest and smallest version Wireless go (you would have to get some other lavalier mic for it, something like this) I hope this helps!