What to look for in your student’s physical structure
I learned to drive pretty late in life. I started in my early 20s when I came to the US, but I never needed a car, so I delayed driving till I was in my 30s. Learning to drive as an adult is a stressful experience since you are not confident in your skills and are acutely aware of the damage you can inadvertently cause. Learning any new skill can be stressful, especially if it concerns the safety of other people. That is why when you begin to work with students one-on-one, especially those who come to you seeking relief from pain, it can be intimidating and even panic-inducing (as in What am I going to do with you?!).
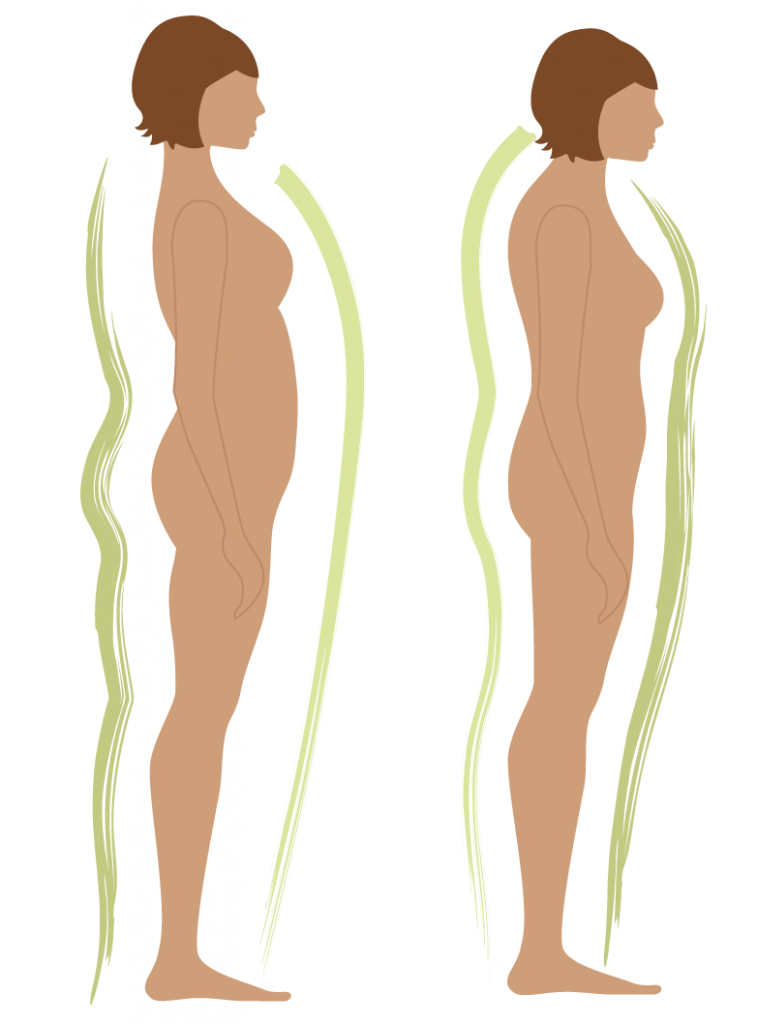
There is no need to despair – just take a deep breath, open your eyes, and begin to ask questions. Conversation and observation are two essential components of any private yoga session. We will cover the conversation portion at a later date, and today, we will focus on observation. We can gather an incredible amount of information from the person’s posture, movement patterns, and overall body language and then use that information to design an appropriate yoga practice. There is so much to see when it comes to observing someone’s structure – where to begin? This question is pretty easy to answer – always begin at the center.
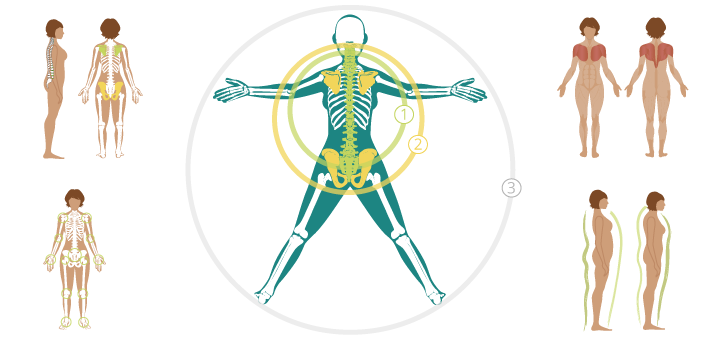
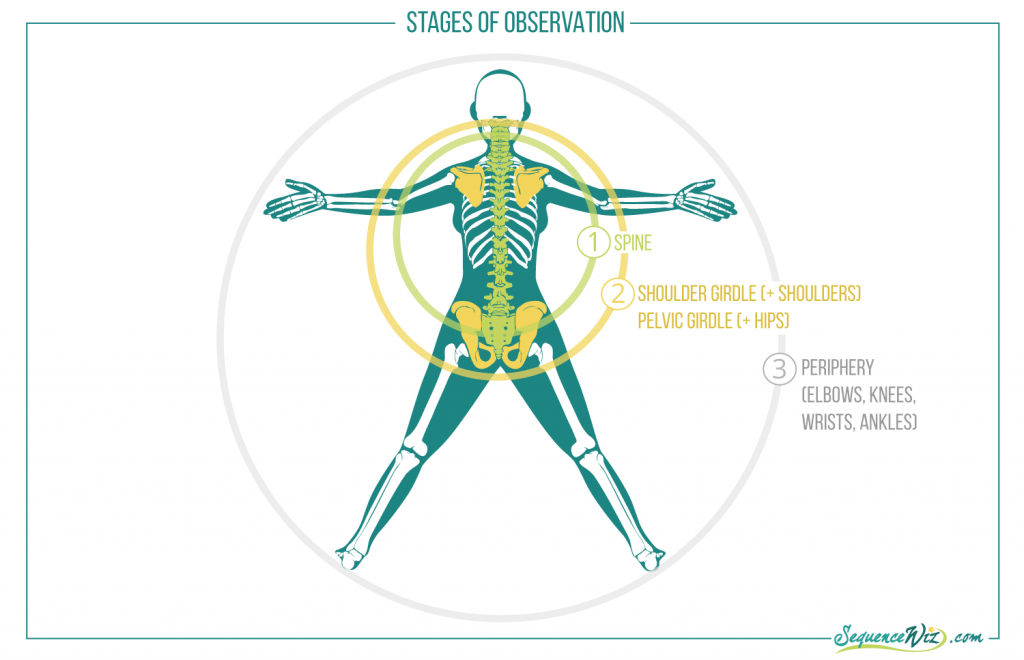
Since the spine is the structural center of the body, we want to start our observation there and then gradually expand it to the shoulder girdle (that connects the upper extremities to the spine and rib cage) and pelvic girdle (that links lower extremities to the spine). Then, we expand the awareness out to the periphery to observe the rest of the body.
At each stage of observation, we are dealing with four main elements of the physical structure: bones, joints, muscles, and fascia. Each one of those elements can be assessed from the following perspectives:
- Stability vs mobility
- Relationships between different parts
- Symmetry
Bones
Stability vs mobility: Shape and mobility of the spinal curves
Relationships:
- how the spinal curves relate to one another during movement
- relationship between the shoulder girdle and the spine
- relationship between the pelvic girdle and the spine
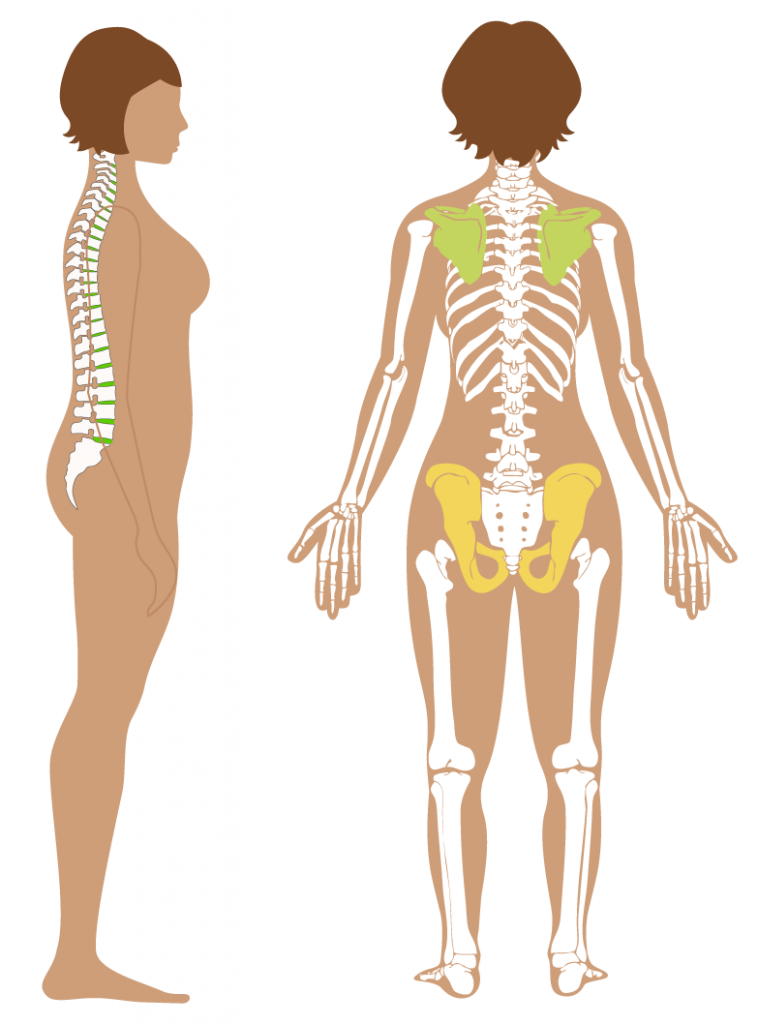
Symmetry:
- of the spine (from right to left);
- of the shoulder girdle (right/left; forward/back, up/down and rotation)
- of the pelvic girdle (right/left; forward/back, up/down and rotation)
Joints
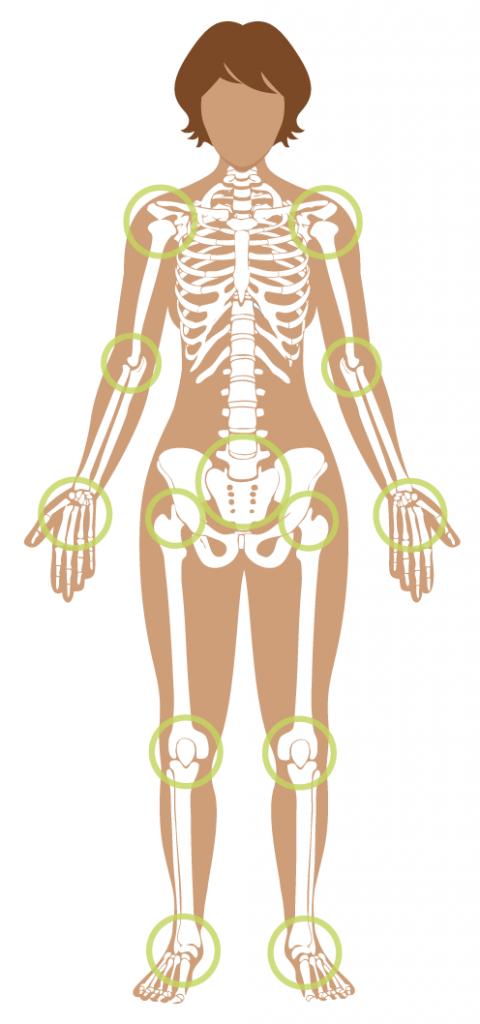
Stability vs mobility: Range of motion, condition of the ligaments (tight or loose)
Relationships: Tracking (alignment between the hip, knee and ankle joints)
Symmetry: Differences between the right and left side
Muscles
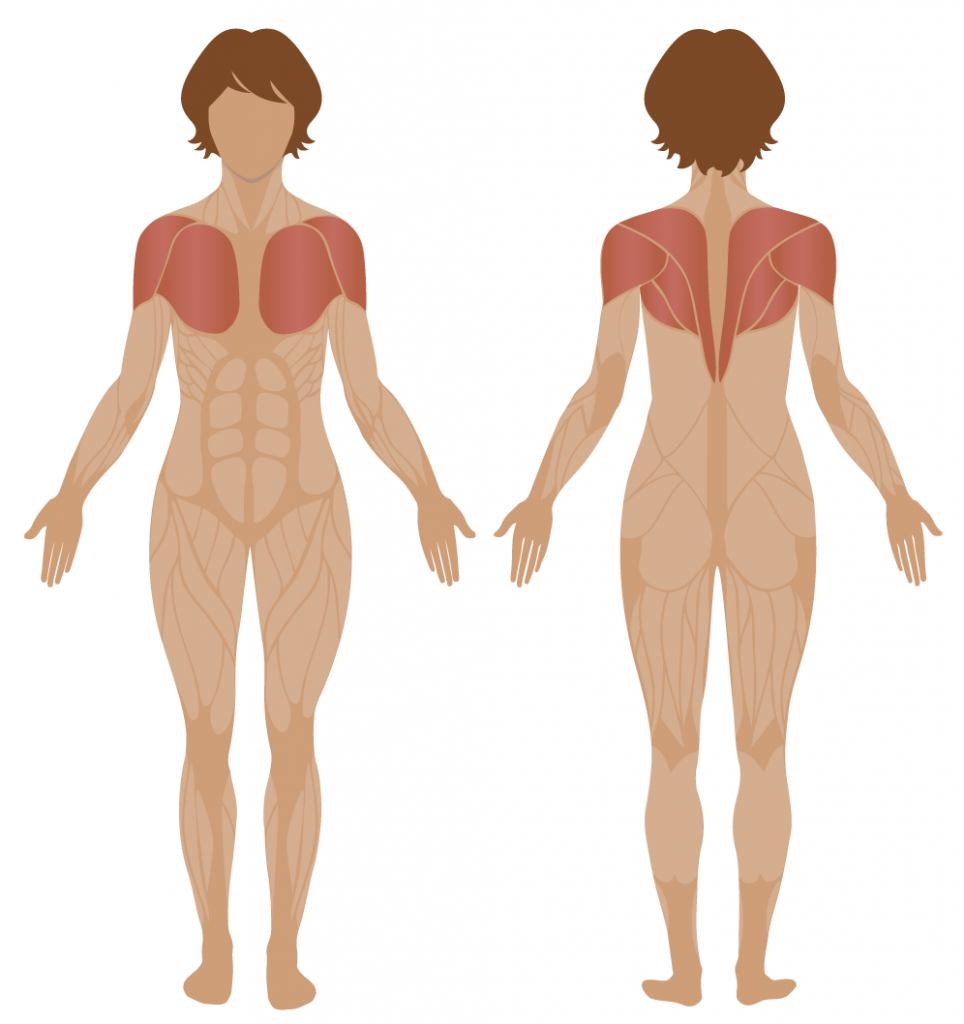
Stability vs mobility: Hypertonicity (chronically contracted) vs hypotonicity (weak, unable to contract fully)
Relationships: Agonist/antagonist relationship (most muscles work in pairs – as one muscle contracts, the other relaxes)
Symmetry: Evenness of muscle development (from right to left and front to back)
Fascia (postural cohesion)
As we move into observing fascia, we shift attention from separate body parts and look at how they are organized together.
Stability vs mobility: Overall structural stability or instability
Relationships: Observation of continuous lines of tension throughout the body
Symmetry: Overall body asymmetries (from right to left and front to back)
Usually, there is no need to run down the entire list and check off every single item. All you have to do is to ask yourself:
- Where in the body do I observe lack of mobility?
- Where do I see excessive mobility?
- Which relationships seem to be unbalanced?
- What looks obviously asymmetrical?
This, combined with the student’s report on her occupation, lifestyle, and hobbies, should give you a great start for your structural work together. Don’t expect yourself to notice everything there is to notice in the first session. As you begin to work together, the most important parts will become obvious – as long as you never stop paying attention. And just like driving, eventually, observation will become natural and won’t require so much effort. You will learn to zoom in on the things that are most relevant to your investigation.
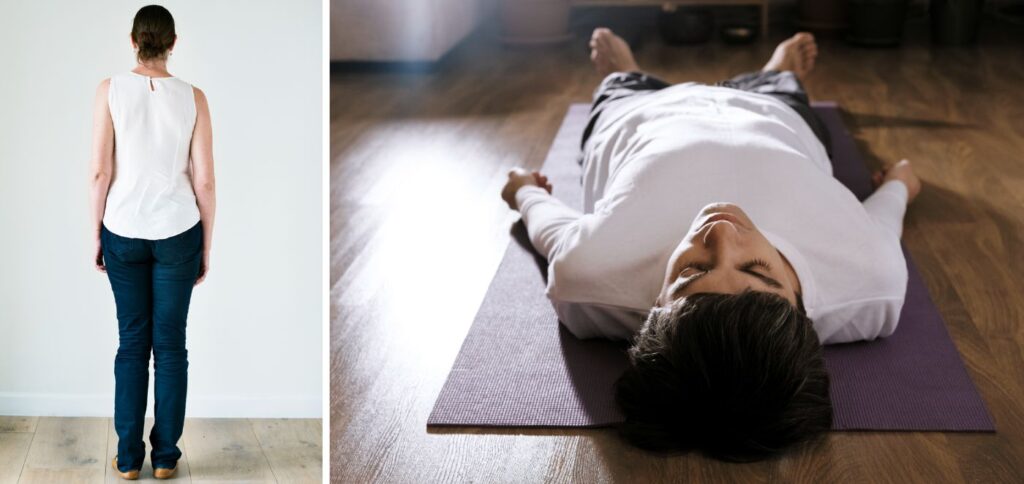
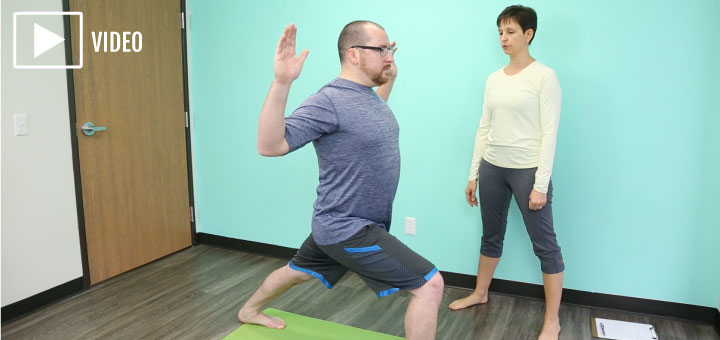
How confident are you in your observation skills? Try this fun, quick 3-minute game to see what you notice in the student’s structure.








Hi Olga, This post is coming at a perfect time as I have a new private student this week. I always find it challenging to observe and create a sequence that can serve them best. Of Course, it does take time to work with the student and see how they move..and also what is going on with their mental state, emotionally, political stress etc. A
I look forward to the second part of this series…Thank you for the south of France! Liza
Thank you Liza! You are absolutely right – there are many other things we need to take into consideration when creating a practice for someone (and political stress seems to be rather pronounced lately). We will be talking much more about other layers of the system as we move forward – happy to hear that you are interested!
I really appreciate your pragmatic and systematic way of approaching so many different topics. You are a great resource and support for those of us practicing and teaching.
Jane wengert
Thank you Jane!
Thanks Olga,
I really appreciate your blog. it’s always reassuring to read your insight about approaching different aspects of teaching yoga.
Love your style.
Om shanti
Paola Gioffredi
Italy
Thank you Paola!
Olga, your blogs are so helpful! There is excellent information here. I’m not currently seeing private students–do you have an quit tips on how to scan a roomful of students using these principles? Thank you!
Thank you Beth! I did couple of other posts on observation in the past: this one and this one that are applicable to both individual and group work. Hope you find them useful! There will be many others in the future, too 🙂
Thanks so much for the links, Olga! I’m constantly trying to build my knowledge base to improve my teaching.