There is no such thing as “gold standard” when it comes to alignment in yoga poses
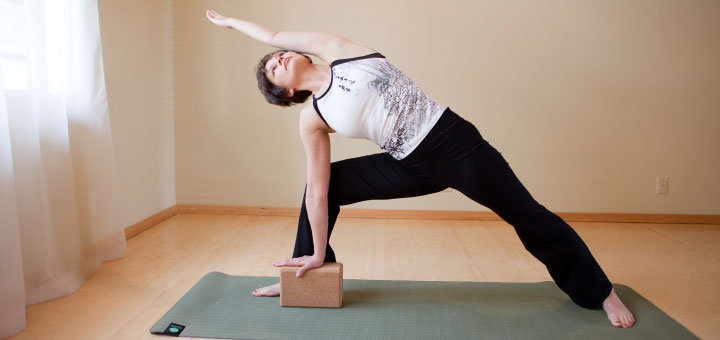
I remember in my first teacher training program, we had “alignment clinics,” where we were told exactly where to place the feet, knees, shoulders, and hips in each pose. Was it useful? Sure, especially for a new yoga teacher. Was it also lacking? Absolutely. What was it lacking?
I heard this story on NPR some time ago. A woman was sharing her experience preparing ham for a holiday dinner. She had cut off the end pieces, put the ham in the pan and stuck it in the oven. Her husband asked: “Why did you cut off the end pieces?” “Because my mother always used to do that,” – she answered. Curious now, she called her mother with the same question. “Because my mother used to do that,” – was the answer. She calls her grandma: “Grandma, why did you cut off the end pieces of ham?” Grandma says: “Because my pan was too small!”
I am afraid that some yoga teachers have the same problem – they teach poses a certain way because “this is how it’s done,” without thinking much about the reasons behind it. We get so versed at cueing where the shoulders, hips, toes, etc., go in each individual pose we forget to question AND explain to our students the purpose of those placements. As a result, we can get stuck with a very narrow view of poses and miss out on many benefits that they have to offer.
When it comes down to it, the form of the pose doesn’t matter much. Jane might look very different from Jennifer while practicing Utthita Trikonasana. What’s more important is whether or not both keep their bodies safe and whether or not they are getting the benefit they are after. The alignment in yoga poses only matters in relation to three basic ideas: safety, function, and energy flow. Let’s look at those closer.
SAFETY
Some years ago, the yoga world was stirred up by William Broad and his article in the New York Times How Yoga Can Wreck Your Body, where he discussed the potential risks of the yoga practice. It caused some passionate responses from the yoga practitioners. The truth is – yoga can never be absolutely safe, but there are ways to minimize the risk. The general rule of thumb is that students get injured if they get too greedy (push themselves too far) or stop paying attention (to what’s going on in the body and how it all feels). When it comes to body positioning, here is my Yoga Checklist Manifesto (following the example of Atul Gawande):
- ALWAYS create support for your lower back by engaging the abdomen (every single yoga pose)
- Keep your neck in the neutral position most of the time ( there is really nothing to see on the ceiling)
- DO NOT create repetitive stress on the joints by doing too many poses that work the same joint (Example: Holding Downward Dog, then Plank, then Side plank puts your shoulders at risk)
- After keeping the joints in the locked position, make sure to mobilize them (Example: After holding on to the back foot in Dancer pose, make sure to do some pose that includes sweeping the arms up/down a few times to relieve the stress on the shoulders)
- Don’t hang on the joints (for ultra-flexible yogis – the deepest manifestation of the pose is not always the most useful one)
- Don’t lock the knees
- Keep the knees and toes pointing in the same direction
AND A BIG ONE for the yoga teachers: SEQUENCE YOUR PRACTICES MINDFULLY! Be very careful in how you arrange the poses; make sure to prepare the body adequately and compensate appropriately. This is essential in minimizing the risk and maximizing the benefit.
FUNCTION
Often, students come to my classes after practicing yoga elsewhere, sometimes for years. And most of the time they have a good understanding of where to place their body parts in each individual pose: toes out, knee aligned, arches lifted, etc. But when I ask them: “OK, what are you trying to accomplish here?” I am often met with a blank stare. Then why are we doing those poses? So that at the next dinner party you could casually drop into the conversation that “I can now put the hand on the floor in Utthita Trikonasana?” That might impress somebody. But if you do not know the purpose of the pose, how do you know whether or not you are getting the effect you are after? We need to be absolutely clear about the function of each pose.
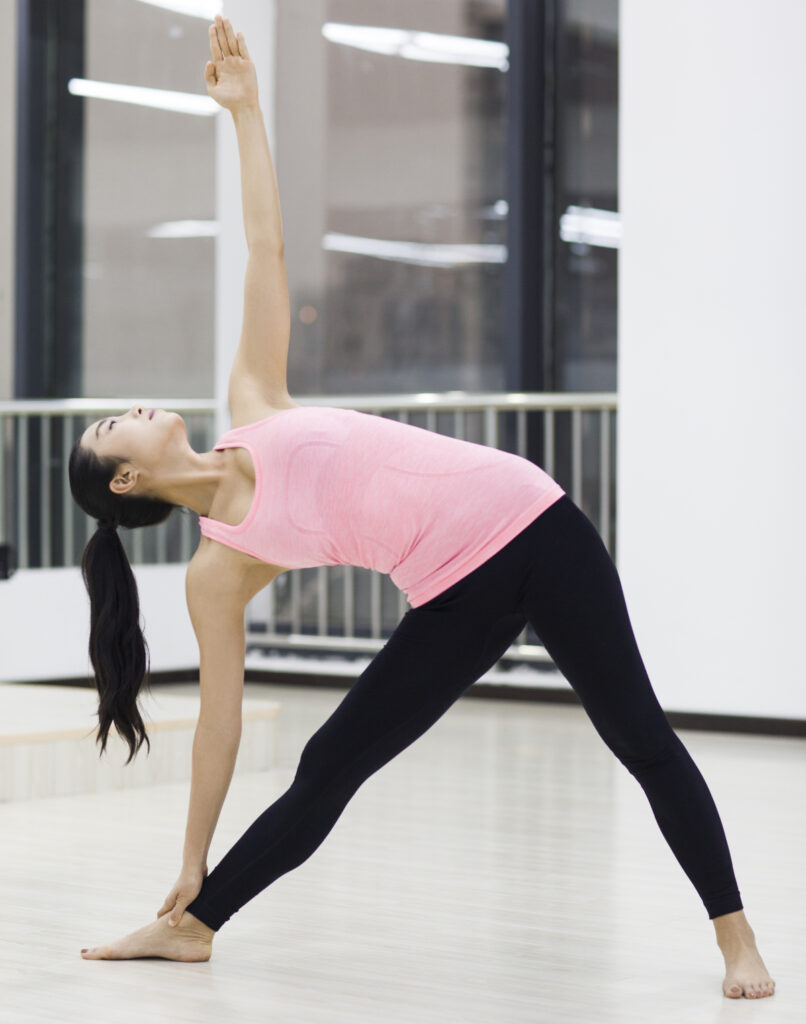
Let’s conduct a quick experiment: Look at this picture and see if you can answer my questions about it:
– What directional movement of the spine is it?
– What is the purpose of this pose?
– Why is she looking up?
– Why is her left arm extended up?
– Why is her right hand on the floor?
– Why is the right leg straight?
– Why is the right foot turned out?
– Why is the left foot turned in?
Here are the answers to those questions:
– What directional movement of the spine is it? It’s a Lateral Bend
– What is the purpose of this pose? To alternately stretch and contract the lateral structures of the torso (obliques, QL, iliacus, TFL, IT band); to facilitate deeper breathing by stretching intercostal muscles and expanding the ribcage; to create more balance between the right and left sides of the body by working with each side individually
– Why is she looking up? Looking up will contract the left side of the neck, strengthening the muscles of the neck. If she chooses to look down, it will stretch the same muscles
– Why is her left arm extended up? Extending the left arm up provides direction for the positioning of the upper body and helps to lift the chest away from the navel
– Why is her right hand on the ankle? The right hand can go anywhere on the leg; its job is to provide support
– Why is the right leg straight? The right leg doesn’t have to be straight; the knee can remain slightly bent, depending on the flexibility of the hamstrings
– Why is the right foot turned out? Turning the right foot out allows the pelvis to tip to the right, emphasizing the stretch in the left hip. If you keep your feet parallel (which is useful sometimes), the focus will shift to the sides of the torso and will protect your sacrum better.
– Why is the left foot facing forward? We want to keep the foot and the knee pointing in the same direction to minimize the torque in the knee.
This is not the only acceptable position for Utthita Trikonasana. There are many different things we can do with this pose to target different parts of the body.
For example, we can sweep the top arm over the head on inhalation and look up, and then sweep the same arm toward the hip and look down on exhalation. The arm travels over on the inhale to facilitate the contraction of the left side of the neck and behind the back on exhale to facilitate the stretch in the neck. This movement helps to loosen up the neck and also helps to mobilize/increase the range of motion in the shoulder joint.
When it comes to alignment in yoga poses, form must be defined by function, not the other way around.
ENERGY LINES
I am pretty sure that ancient yogis didn’t care much about all those details of alignment. I don’t remember any mention of quadratus lumborum in any traditional yogic text. Asana practice was always about preparation for meditation AND about the movement of energy throughout the system. My teacher Gary Kraftsow calls yoga poses “prana pumps.” Ultimately, the purpose of asana is to move the life force (prana) into different parts of the human system via the energy channels (nadis), using breath as a vehicle. For the energy to flow freely, we need to position the body in a way that creates organic, open energy lines. Otherwise, we will end up with the effect of “kinking the hose” (just like you do when you kink the garden hose – it stops the flow). Most of the time, it’s pretty obvious, when you look at the pose if the lines are organic or “kinked.”
Working with energy flow in the body is an excellent way to get access to your physiological processes and link the physical and the energetic dimensions. But this is a topic for another conversation.
To sum it up: When teaching alignment in any yoga pose, we need to be concerned with student safety, make sure that it supports the purpose of the pose, and encourage organic energy flow.
The form of any yoga pose can be modified depending on what you are trying to accomplish. This is called pose adaptation. Adaptation means altering the form of a pose to maximize its function. This book covers various adaptations of those superposes and reasons for doing them.


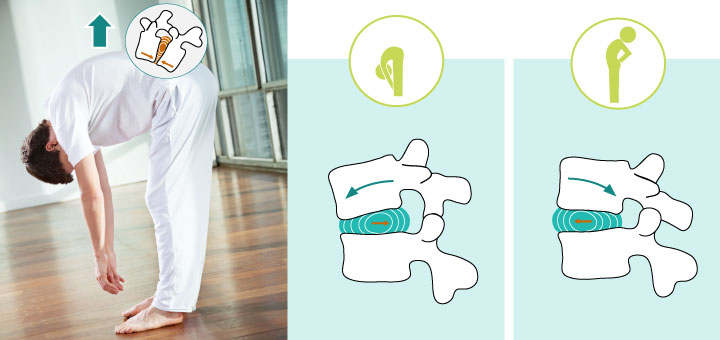
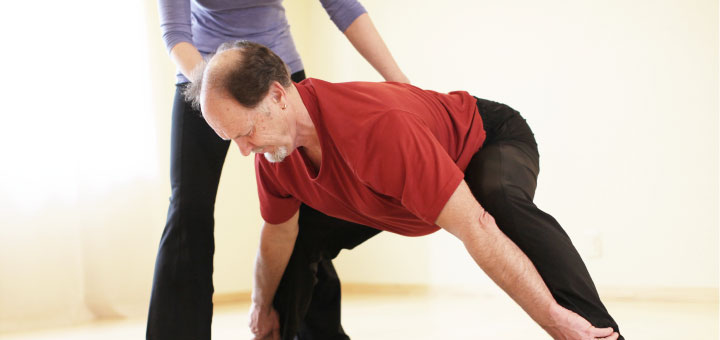


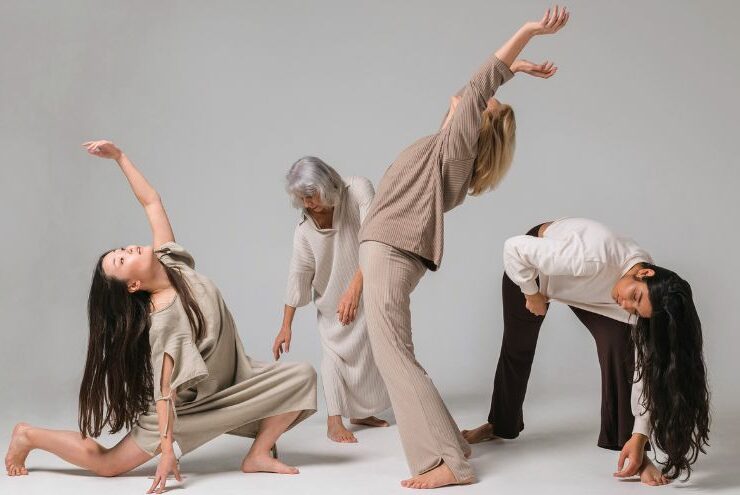
I agree that the appearance of every asana is unique to the student. I think you’re quite correct in stating that challenge in finding the balance between over-efforting and under-efforting is the very essence of yoga. I think the alignment you are referring to in your article is more about the stylized appearance of a pose, based on a yoga tradition or the esthetics that a specific teacher demands. i agree that those “alignments” often don’t serve the student and are often the cause of injury. I do, however, believe that there is one basic anatomical blueprint for alignment that the body adheres to, regardless of the poses or positions it is place in. The body does not adapt itself to the asana; instead asana is the expression of body alignment in its many possible manifestations. The structural and mechanical relationships found in Tadasana demonstrate the alignment required in all asana to keep the body safe and allow yoga to be therapeutic, not traumatic. Once the basic anatomical alignments are understand and able to be engaged, how the asana ultimately looks is of little importance to the overall goal of yoga practice.
Thank your comment, Steven. It’s very thoughtful. The most important message that I am trying to convey that in asana it should be function over form, not the other way around.
Great post.
In many yoga style classes I’ve taken, there is a cue “contract your quads”. Isn’t that the same thing as “lock your knee”? I understand “to lock your knee” is simply that; “contract your quads”.
Hi Kimberly! I believe that those two statements are fundamentally different. “Contract your quads” implies muscular engagement with the purpose of supporting the knee. “Locking the knee” basically means that one is “hanging on the joint” without muscular support. For example, so-called double-jointed people can hyperextend their knees while “locking” them, but if they engage their quads they can usually keep their legs straight and knees supported.
Oh my gosh!! Spot on in every way!! I am so grateful for my life changing teacher training. Before I stepped into the world of
teaching I was a regular practitioner trying to achieve what the teacher was presenting….then I found myself in physical therapy for a year mending the piriformis from repeated jamming of the pelvis in Trikonasana. I was going to wait on the teacher training enrollment due to this injury, but the instructor encouraged me not to cancel and that it would be a very safe and good learning experience . Boy was she right!! In that training we pieced apart many asanas and Trikonasana was enlightening for me. My original version of Trikonasana was contradictory to the intention of the pose. When the teacher adjusted (with permission) my version of Trikonasana it became a totally new experience. I said, “THIS is how the posture is suppose to FEEL?!” Suddenly I felt FREEDOM and EXPANSION in this complicated asana. From that moment on, (and to this day) I am fascinated by listening, and observing my own changes as I age in asanas, and safely guiding students to their own discoveries.